Pages

Thursday, June 13, 2013

Baby Birds!

A few weeks ago on one of my many daily trips to the chicken coop I noticed a bird flying from the corner of the roof.  On further inspection I discovered a birds nest in the corner of the eaves.  Now this section of the roof is supposed to be boxed in but that's a project that still hasn't been completed yet. I am happy about now because I get to watch the little ones grow in the nest! 
The birds are Eastern Phoebes and there are four babies in the nest. I read that phoebes like to build nests under building overhangs, but maybe she felt a kindred spirit with the hens because the nesting boxes are right on the other side of the corner she chose to build her nest.  Momma bird is usually close by and doesn't seem to mind me peeking in as long as I don't get too close!
It's a little hard to tell in the picture but there is a little bird peeking out !


Wednesday, June 12, 2013

Chive Blossom Vinegar


Chive blossom vinegar has become one of my favorite things since I first made some last year.  It is super easy to make.  All you need is snip off the chive blossoms, then give them a good rinse because bugs like to hide in the dense blossoms.

Then place them in a jar.  Fill the jar with white vinegar, place a top on and let it sit for a minimum of two weeks.  The longer it sits the more intense the flavor will be so don't get worried if you forget about the vinegar for awhile.  When capping your jar do not use a metal top as the vinegar will corrode it.  Use plastic or place a piece of parchment paper over the top of the jar before screwing on the top.  The vinegar will turn a pretty pink as the blossoms marinate.
Chives are full of vitamins A and C and are a powerful antioxidant.  Chives are also antibacterial and can help fight off colds and the flu!  To get the most nutritional value from chives don't cook them.  Sprinkle them fresh or dried onto your meal right before eating.
Another way to get a good dose is of course with the flavored vinegar which makes a great vinaigrette!

Chive Blossom Vinaigrette

4 Tbsp. Chive vinegar
1 tsp. Dijon Mustard
1 Large shallot, minced
1/2 cup extra virgin olive oil
Salt and Pepper to taste

Combine vinegar, shallot and Dijon in a bowl.  Slowly whisk in olive oil until combined.  Season with salt and pepper to taste.

Friday, June 7, 2013

The Chicks meet the Captain

The babies finally got their first taste of the great outdoors, though they remained enclosed for their own safety. It also gave me a chance to give the brooder a good clean out without chicks escaping and running amok inside.

They seemed to enjoy being out but the most interesting thing to them seemed to be a visit from some of the older chickens, namely Captain Hook.  It was another interesting view into chicken behavior.
Captain Hook circled the enclosure several times looking for a way in or a way to get the chicks out.  He seemed ready to have them join the flock and the chicks were fascinated by him.  When he was unable to get to them directly he started showing them how to scratch and peck at the ground and even tried feeding them grass through the holes in the fence!  I was under the impression that as a rooster he would have little interest in them but here the Captain was showing off some fine fathering skills. I realized later that I should have taken video instead of still pictures-Doh!

Thursday, June 6, 2013

A Pair of Pears

My pear tree has a pair of pears!  This makes me so happy.  You are probably wondering why I would get excited about only two pears but I have reasons. 1) This is the first time it has bore any fruit. 2) It's MY pear tree.
The tree is only a few years old and though it usually has many blossoms it is really too young to support much fruit.  I think it will be able to support these two pears without hurting the tree but I will be sure to keep an eye out to make sure the tree doesn't suffer any damage.
We've got other fruits starting to blossom too!  Our blackberry bush is covered with blossoms. Our raspberries aren't faring so well though, not sure what is going on with them.  We do have wild raspberries all around the perimeter of the yard and those have lots of blossom.
 
I also have one blueberry bush that is covered with lots of blossoms too. Again there are also several wild blueberry bushes that are also covered with blooms. (Kinda makes you wonder why I bother with the domestic bushes when there are so many wild ones around, right?) We'll have to get some  netting to keep them from the birds!


I put in a few strawberry plants in containers on the deck and those are blossoming too.  By having them in containers on the deck I am hoping to keep out the chipmunks and squirrels.  There are lots of wild strawberries in the yard that I told the critters they could have, we'll see if they listen
 
 
I have also put in three apple trees and two cherry trees.  I had to relocate the apple trees to a sunnier spot and I didn't fence them in right away after moving them so the deer had a little snack on them.
They are now fenced in and I expect that they will make a full recover and do much better in their new location.


Sunday, June 2, 2013

New Brooder Box

As you can imagine our chicks are growing like weeds.  They are no longer tiny little fluffy  butts but already have real feathers and are starting to looks gangly and awkward.  The plastic bin that was the original brooder was quickly getting crowded so Dom and I decided a regular brooder was needed.  Lucky for us we already had most of the materials on hand and within an afternoon we had a new home for the chicks complete with little roosts for them to perch on.
 
They are big enough now that every time I open the top someone tries to escape....
 
They will soon be having their first adventure outside now that the weather has warmed up.

Thursday, May 30, 2013

Garlic Goodness

By now most everyone has heard about the health benefits of garlic.  It is helpful in the management of blood pressure and cholesterol levels, is a natural antibiotic helping to promote the immune system and is packed with vitamins  and nutrients!  Most people use garlic to cook with but taken raw it really packs the most punch health wise.  But eating a clove of garlic just by itself isn't really that appealing, at least to me.  I was given a brilliant tip on how to get a good healthy dose of garlic without scaring away your family and friends.  Take a couple of bulbs of garlic and peel them, cutting the cloves into smaller pieces if they are super large.  Place your cloves into a small jar and cover with raw honey.  Put a lid on the jar and let sit for 2 weeks.  After the two weeks is up the garlic will have soaked up the sweetness of the honey and have a much more palatable taste. Now don't throw away the honey that has all that garlicky goodness in it.  Save it to make marinades and salad dressing!
As with anything, eat the garlic in moderation.  You can have too much of a good thing.  Consuming too much garlic can lead to heartburn, upset stomach and even allergic reactions.  Try having a clove every other day or  a few times a week.

Saturday, April 27, 2013

Coconut Almond Granola

This stuff is super, yummy and super easy to make, and is great on yogurt or just by itself for a quick snack!

Ingredients

3 Cups rolled oats
1 tsp. cinnamon
1/2 tp. sea salt
1 cup shredded, unsweetened coconut
1 cup blanched, sliced almonds
3/4 cup real maple syrup
1/4 cup oil, melted
2 tsp. pure almond extract

Preheat your oven to 325 degrees.  In a large mixing bowl mix together all your dry ingredients.  Next stir in the almond extract, maple syrup, and melted coconut oil.  Spread out the granola on a cookie sheet greased with coconut oil.  Bake for 20 minutes-give it another stir.  Put it in for another 5-6 minutes and stir again.  Another 5-6 minutes and it should be done depending on your oven.
Let it cool and store in a mason jar or other air tight container.

Friday, April 26, 2013

A Hatching Success!

It has been a busy week. The kids are home on vacation, I started an herbal apprenticeship at a local farm and our chicks hatched!  Thursday made 21 days and sure enough the eggs began to pip in the morning.  During many, many random checks throughout the day(talk about being distracted!) we saw the eggs rocking and very often little peeps could be heard coming from the eggs.  By evening more cracks were evident.

Around seven the first chick busted his way out, peeping loudly and wobbling all over the place.
We saw two more hatch before we finally went to bed.  In the morning we were greeted by five little balls of fluff intermittently peeping and napping. All the eggs successfully hatched!  Making a transition to the brooder went smoothly and they all seem to be adjusting well to life outside the egg!

 
Now comes the hard part-trying to figure out which are girls and which are boys.

Thursday, April 18, 2013

Pinterest tip of the Week #2-Mason Jars

Did you know that mason jars will screw onto most blenders?  This makes it super easy to make a one serving smoothie! This is also true of the mason jar drinking mugs with the handles.  I like to make a smoothie the night before to drink in the morning and this works out perfect.  You could also easily make up several different flavors of smothies for different members of the family without washing the large pitcher of the blender over and over again. Cool right?

Wednesday, April 17, 2013

Crazy for Crochet

While browsing through Pinterest and seeing a bunch of adorable crochet items I decided that I needed to learn to crochet. When  I was much younger my sister-in-law taught me how to crochet a granny square and if I had stuck with it I would be a master crochet artist by now but being young and foolish I didn't.  As you know the Internet can be a wonderful source for learning how to things but being a bit old fashioned I love me a good book to use as a reference.  So I bought a book on the basics of crochet, some hooks and some yarn to begin practicing.  I did find YouTube videos to be very helpful when I was uncertain about how to do a certain stitch and the picture in the book just wasn't quite clear enough.
  One of the things that really drew me to crochet was the adorable little critters you could create.  The Japanese art of amigurumi was especially intriguing. The word amigurumi is derived from a combination of the Japanese words Ami-which means crocheted or knitted. And nuigurumi, which means stuffed doll.  After a little research I found that most amigurumi was made with only one stitch and that was single crochet-I could do that!  So I went about finding some patterns and of course a couple books and I was soon on my way to making some cute little critters!  The amigurumi patterns work up pretty quickly so I got this quick little feeling of accomplishment every time I made one.  Another bonus is that my kids are loving the little creations too!
I soon found crocheting to be very addictive and wanted  to crochet everything.  And when I say everything I mean to the point of crocheting hats for eggs, otherwise known as an egg cozy.  You know know it's important to keep your eggs cozy right?!  Actually the fact that such things actually exist and were not created by me just goes to show I am not the only one who is crazy for crochet.  I do believe the actual purpose of an egg cozy is too keep soft boiled eggs warm while you prepare the rest of your breakfast and not a fashion statement but either way they're pretty cute!
Here's a few of my favorites-
 
 
And here is something a little more useful, a jar cozy.  I made this for Becca to hold her paintbrushes!

I have got an ever growing list of things I want to try making on my Pinterest boards so stay tuned for further creations!

Monday, April 15, 2013

Candling Day!

Yesterday was day 10 for the eggs I put in the incubator so it was candling day. First thing we did was to take an egg that we had just gotten from the coop and knew there was nothing growing inside to candle so we would know what an egg looked like that wasn't growing.  Then we began the process of candling the eggs in the incubator. It was really neat to see the eggs with the little developing embryos inside.  5 of the 6 six eggs we checked had definite development.  I am not sure who was more excited, Kenzie or me!  If everything continues to go well we will have 5 chicks hatching in 11 days!
The pictures didn't come out that great. If you look closely you can see the darker portion is the embryo with some spidery veins around it.  This particular embryo was moving around a lot!
 

Friday, April 12, 2013

Homemade Mayo Recipe

Homemade Mayo Recipe

Since raising chickens I have been making my own mayo I wouldn't make this with store bought eggs. Store bought eggs can be over a month old before they even hit the store shelves. I usually make mine with an egg fresh from the hen but any farm fresh egg would due.
 I have read of some people having trouble making mayo and though I never have two things that seemed to help the process are making sure your egg is at room temperature and making sure that you add the oil slowly. You can also use an immersion blender to blend all your ingredients together.
I make a small batch and it only takes about 5 minutes to do. In the summer when we have lots of fresh chives I like to chop up a bunch and throw those in too. It gives a little extra flavor that goes great with just about anything, especially burgers on the grill!

Ingredients
1 large egg
2 tsp. Dijon Mustard
1 tsp. White Wine Vinegar
1/2 tsp. Sea Salt
1 Cup grapeseed Oil
Fresh chives, chopped, optional

Place egg, mustard, vinegar and salt in a food processor and begin blending. VERY slowly add the grapeseed oil in a thin steam until well blended. Stir in chives.

That's it! Fresh mayo! Store in the refrigerator for up to two weeks. I have had mine in the refrigerator longer than that with no problem.

Thursday, April 11, 2013

RIP Mr. Coffeemaker

After a week of struggling to produce a decent cup of coffee we decided to pull the plug on our ailing coffee maker.  Mr. Coffeemaker was a reliable companion for many years providing cup after cup of steaming hot beverages for our entire family on a daily basis.  Coffee, tea and cocoa were among some of his finest accomplishments. Mr. Coffeemaker  left behind several k-cups, ceramic mugs and the sugar bowl who never left his side during his brief illness.  He will be missed by all.
RIP Mr. Coffeemaker

Tuesday, April 9, 2013

Pinterest Tip of the Week #1-Keeping Ice Cream Soft

Ever go to scoop yourself a nice bowl of ice cream only to bend and ruin a perfectly good spoon?
Or worse you start to scoop the ice cream and the scoop suddenly slips and a glop of ice cream goes flying across the counter and lands on the floor much to the delight of your four legged friends?
Well thanks to a tip on pinterest I have a solution! The oringinal link for the pin I have doesn't go anywhere so unfortunately I can't give credit to who ever it was that had this brilliant idea but I thank you.
The simply solution is this.  Put your conainer of ice cream in a plastic bag before placing it in the freezer.  That's it.  No microwaving or leaving it out for a few minutes to thaw only to forget about it and return to a puddle of ice cream.  I've tried this and it really works. So go forth and enjoy wonderfully scoopable ice cream everytime!

Monday, April 8, 2013

Hedgehog Sleep Sack

As I mentioned in my earlier hedgehog post, while doing some research online to learn more about hedgehogs I found that they really like to snuggle up and sleep in fleece.  Soon I found sleep sacks that you could purchase and it wasn't long before I came across a tutorial to make your own. Being a crafty kinda gal it seemed simple enough and I decided to take on the challenge.  A very important fact that was stressed is that hedgehogs have small little feet, toes and toenails that can easily become entangled in stitches and they like to dig, which further increases the chance of a toe or toenail becoming entwined which coud lead to serious injury.  Because of this you need to have as few seams showing as possible, simple enough if you are an avid seamstress.  Not so simple if your sewing machine hasn't seen the light of day in several years. Not to be detered I dusted off the sewing machine and set up shop on the kitchen table with all my supplies close at hand.  I carefully read and re-read the very simple five step instructions(complete with pictures). and then attempted to make my hedgehog sleep sack. I say attempted because the first one didn't come out quite right. 
Neither did the second.
Lucky for me the third times a charm. Also lucky for me I had bought extra fabric.  I wanted to make more then one so that we could wash one and still have an extra.  After making one correctly I could easily make another one.
Or not.
It was the whole turning things inside out and having the correct side of my fabric showing but not having any seams showing that was throwing me off.
Out of five tries I did manage to make two cute sleep sacks that I am proud of.  I am not so proud of how long it took me or how much fabric I wasted or how my aspirations of being on Project Runway got flushed down the toilet. ( Kidding. I have no to be on Project Runway.)  I do, oddly enough despite all my frustrations, have a desire to learn how to quilt.  I think I may head over to Skip to my Lou where she's got some cute projects for teaching kids how to sew.


Saturday, April 6, 2013

Hatching Ideas

We are starting another chapter in our chicken raising or I should say I am.   This whole idea was instigated by my dad and since I am really enjoying raising chickens I was game. Hubby is not really on board with this new adventure.
Hubby is in fact waiting for me to get over my chicken phase. This isn't happening any time soon especially now that I've decided to hatch some eggs to sell the chicks.  I guess he has reason to be nervous.  I think he is pretty convinced that we will hatch a bunch of chicks and end up keeping them all which would mean building another coop to house the all.  I am a little nervous about the whole scenario, but I am excited too.  My fears are more along the lines of what if we hatch all  roosters? Not likely but half could be.  
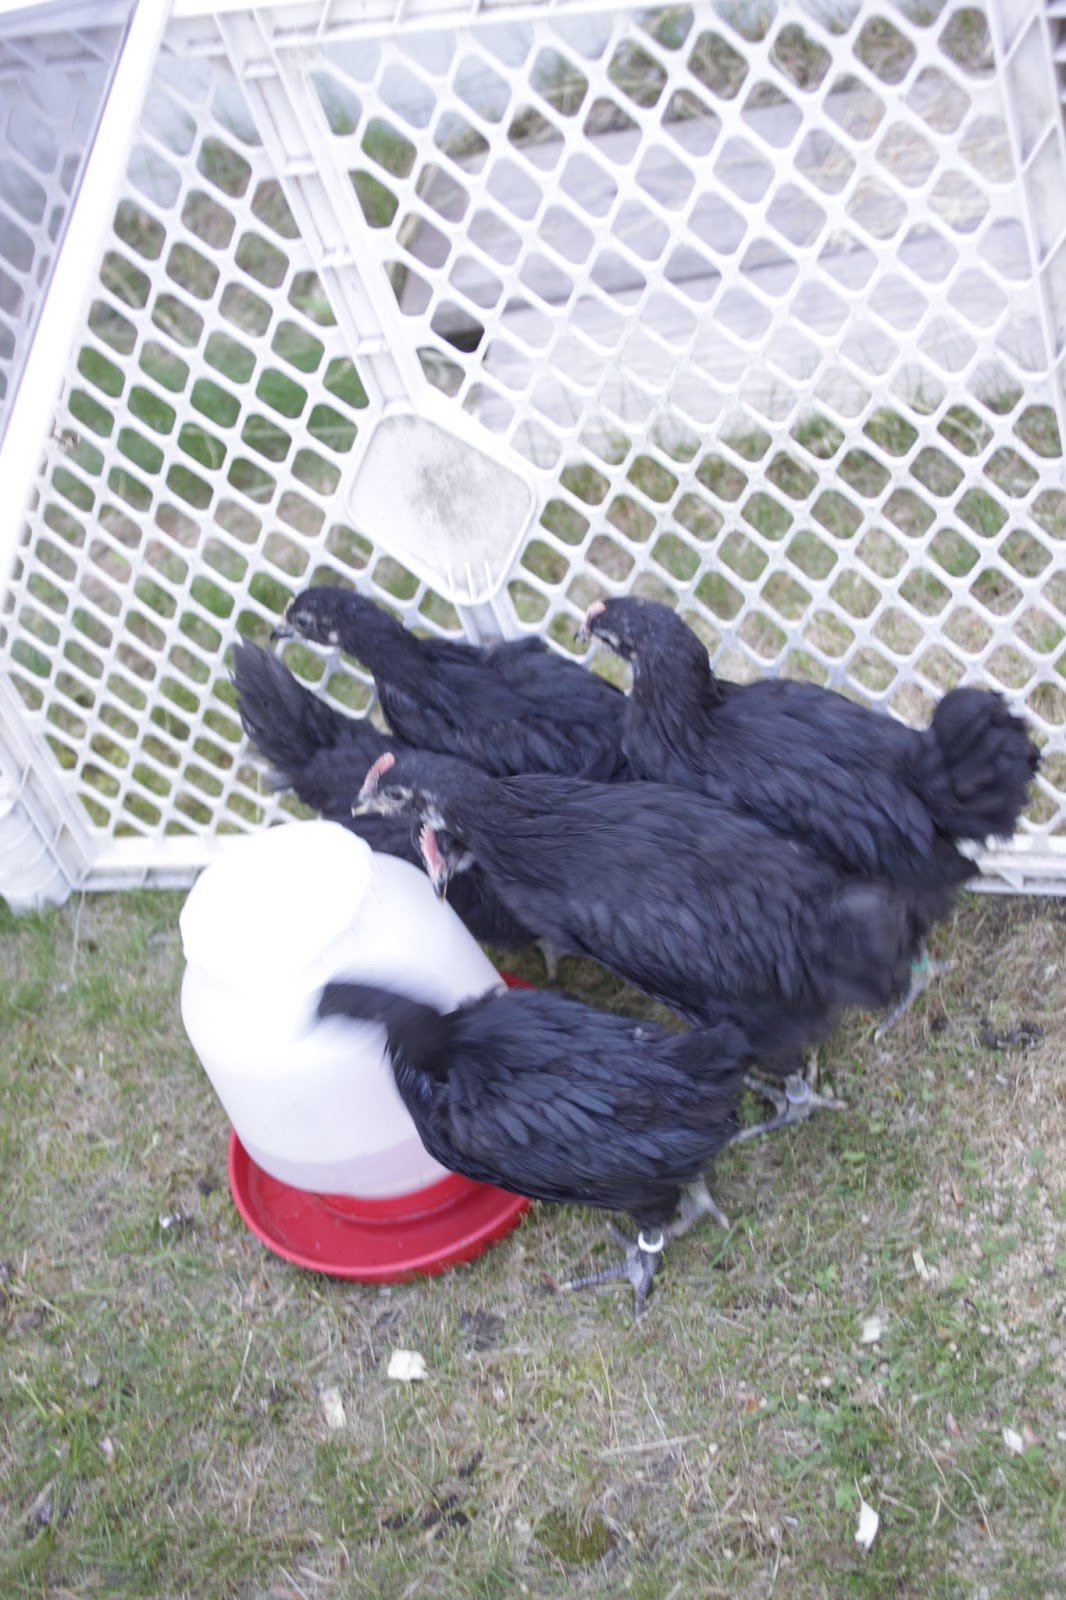
As you can imagine roosters aren't as popular as hens and therefore harder to get rid of.  They don't lay eggs, they are noisier and they can be mean and extremely aggressive. Some town ordinances don't even allow roosters.  We have been lucky that the two roosters we have are very  friendly. Kenzie can walk right over and pick them up.  They also get along with each other for the most part.  They might circle each other with their hackles raised but there really is no actual fighting.  I think this is largley do in part to the fact that Joel is very passive and is content in letting Captain Hook be in charge.

Since I have never hatched eggs or used an incubator before I have chosen to just try six eggs to get a feel for the whole procedure.
I pulled out all my chicken books and read the chapters on hatching eggs.
Then I read them again.
I scanned the internets absorbing all the info I could get on using a incubator to hatch chicks.  Then I realized maybe it would just be easier to have a hen go broody and do what nature intended. This was a good plan but unfortunately the mothering instinct has been almost entirely bred out of domestic poultry in favor of egg production and I might never have a hen that decides she wants to be a mommy. So back to the incubator with its less than helpful directions and back to doing a little more reading just to be sure I was doing everything the best I could.
 I got the incubator all set up with the humidity and temperatures at the correct levels-temperature 100.0 degrees and humidity 55%.
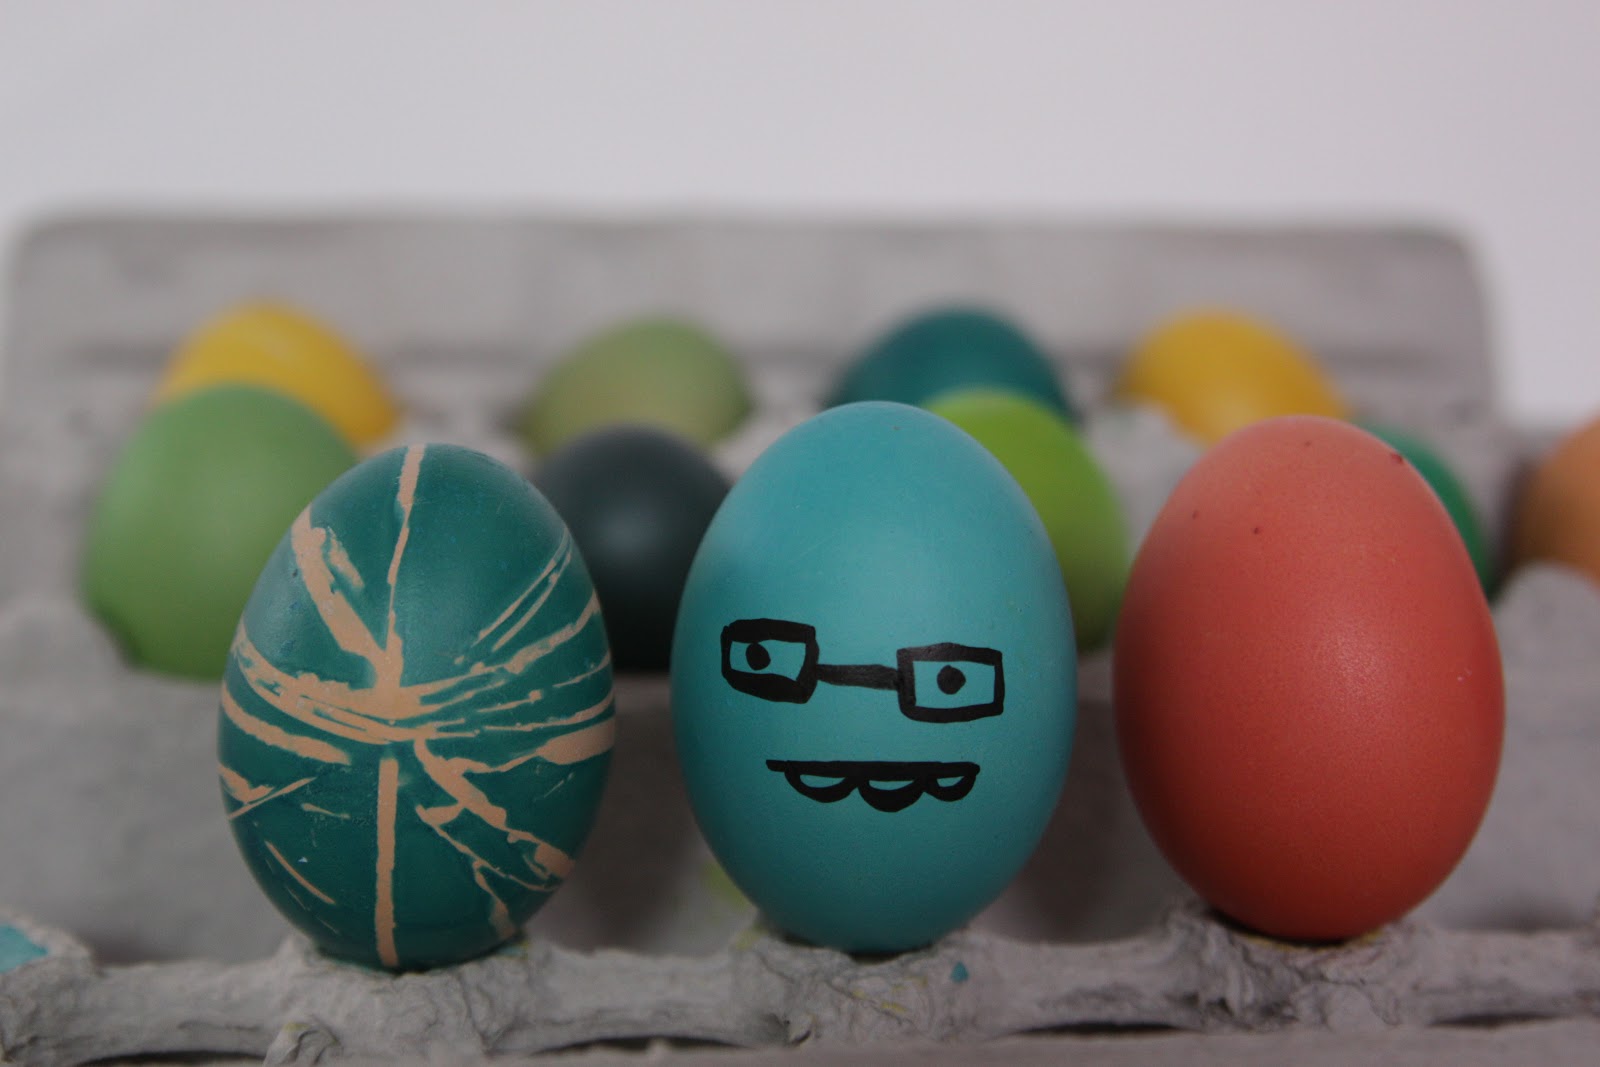
Next I picked six eggs.  I picked lighter brown ones so that they would be easier to candle since this would be my first experience. And I also made sure they weren't oddly shaped or overly large or small. Into the incubator they went, set small end down into the automatic egg turner.


In ten days I will be able to candle the eggs to look for signs of development.  Candling the eggs is kind of like a chicken ultra-sound.  In a darkened room you hold a candler or bright flashlight or lightbulb up to the eggs to look for signs the egg is fertilized and a chick is starting to form. A fertilized egg should show a dark spot(the embryo) with spidery veins around it.  With two roosters and 12 hens our chances of fertilized eggs are should be high.  If you do not candle the eggs and leave an egg in the incubator that isn't fertilized it will rot and quite possibly explode.  Cleaning up rotten egg is not something I want to deal with!  Not only would the smell be horrific it could endanger the other developing eggs.
I will be monitoring the temperature and the humidity in the incubator to make sure that it remains consistent and keep my fingers crossed that we have a succesful hatch. I'll be posting updates as we progress!

Friday, April 5, 2013

Free Range

Now that we have finally had some significant snow melt I have been able to let the chickens out to free range.  The first free ranging experience was interesting to observe.  I started by just opening the gate and leaving them to their own devices.  No one discovered the open gate or they were choosing to ignore it. Evenually a few hens found their way out but this sent Captain Hook (the dominant rooster) into a tizzy when he realized they were on the other side of the fence. Kenzie went into the run and attempted to shoo everyone out.  For what ever reason they would reach the gate and  run back in the opposite direction.  Kenzie was able to grab Captain Hook and put him outside the gate in the hopes the rest of the flock would follow.  They tried but not being terribly smart they paced up and down the gate trying to get to Captain Hook while he did the same on the outside. Kenzie eventually got a few more out but this is also where it got interesting to watch.  Captain Hook started going up to each hen(he still on the outside of the fence and the hens inside)then he would "talk"to each hen and lead them around to the open gate. With a bit of teamwork between Kenzie and Captain Hook the whole flock made it out into the yard. 
The flock stuck pretty close togther except for the old ladies.  The old ladies are my two original hens and the only two that aren't australorps.  These two were used to roaming the yard together and thats exactly what they did.  This of course upset Captain Hook  who continually sqwaked at them to try to get them to come back to the rest of the flock and they kinda of ignored him.
While Captain Hook was proving himself to be a competent leader of the flock, Joel, our other rooster was proving that he probably should have been born a hen.  Joel is actually prettier then Captain Hook and his plummage is more impressive,  Captain Hook is so named because he has two crooked toes and his plummage is floppier than Joel but other than that he is what I want in a rooster, he is not aggressive towards humans-so far-and he is taking good care of the girls.
As the snow continues to melt and the days get warmer the flock will get to spend more time out in the yard and hopefully learn where the gate is!


Thursday, April 4, 2013

Collecting Eggs

One of my favorite things about raising chickens and collecting their eggs is the variety. Every morning I grab a basket and head out to the coop to see what the girls have left in the nesting boxes.


 It's like Easter everyday! We have 12 hens and most days I get 8-9 eggs.  Every so often I get 11 eggs!
 Even though all our chickens lay brown eggs it's not like purchasing a dozen eggs from the grocery store. I now found grocery store eggs boring.  They taste boring and they look boring to me. 
Here is a picture of just a few of the eggs I currently have in my fridge all laid within the past week-

As you can see, they are all quite different. The first one on the left is a Jumbo size egg.  When we get eggs this big, they always have a double yolk inside.
The second from the left is a large egg, but it's a little on the pointy side.  Third from the left is a large egg and  pretty close to what you see in the grocery store.  Fourth from the left is almost round, darker, and speckled (these are my favorite).
The last one is a cute little round, light colored egg.  This is about the size egg that hens lay when they first start laying and it doesn't quite register on my eggscale


.  I have a feeling that this may have been laid by one of my two older hens, who probably hadn't been laying for the colder winter months,  but has started laying again now that the days are getting longer.
As you can see when you have your own chickens you get a nice variety of eggs every day.  Different breeds lay different size and different color eggs so if you have a lot of different hens in your flock you could have a virtual rainbow of eggs!

Saturday, March 30, 2013

Hedgehog Fun

I am not sure how it came about but my husband and youngest daughter decided that we needed a pygmy hedgehog to add to the menagerie of critters we already have running amok around here. Just for the record the menagerie includes 2 dogs, 2 cats, 4 fish, 1 rabbit, 12 hens and 2 roosters.
And now 1 african pygmy hedgehog baby named Basil..

In case one is not aware you can't just run to your local pet store and pick-up a hedgehog. At least not around here. After a little research we found two breeders online, one of which promptly replied to our online inquiry. As with most animal adoptions the breeder wanted to ensure we would provide the hedgehog with a good home and within a week we found ourselves invited to an open house in the breeders home to learn about hedgehogs and to finalize our adoption. We learned a lot about the cute and quirky little creatures and soon we were on are way home with an 8 week old hedgehog!
One thing we learned is that despite being prickly hedgehogs love fleece(who doesn't?) and love to burrow under it to sleep. After seeing several products online for Hedgehog sleep sacks I decided that despite my limited sewing experience I could manage to put one together, ...maybe..... IF I could remember how to use my sewing machine. At least it was an excuse to go to the craft store! So off  I went to Joanns to browse through the colorful cloth. Imagine my surprise when I came across some adorable hedgehog fabric!

  It wasn't fleece but it would make an adorable cover for the sleeping bag and I could make the lining fleece. Cute pawprint fleece.
 So I grabbed the cute fabric and went to the counter to get it cut. "So what are you making?" The nice man at the counter asked.
Hint-if you want someone to stare at you like you have three heads tell them you are making
a sleeping bag for a hedgehog.
"Um like a real, live hedgehog?' he asked skeptically.
As opposed to a  dead, squished one? I thought to myself,"Yup a real live one." I smiled.
I guess I never thought that much about it being unusual to have a hedgehog as a pet but I have found that we have gotten similar suprised responses, it's been quite amusing!

Friday, March 29, 2013

Egg-cellent Deal!

I enjoy  getting a good deal, doesn't everyone?  Especially when that good deal adds a bit of whimsy to our Easter decor with little expense.  Kenzie and I found this cute egg holder 60% off and decided it was a really cute way to display our colored eggs.

 
The eggs really love it too.  Especially this one!


Thursday, March 28, 2013

Colorful Eggs

Easter is fast approaching and we've been busy coloring eggs.  This is the first year that we've colored brown eggs instead of white.  In the past, when all our eggs came from the store, I would buy the white ones for coloring because they take color the best or so I was lead to believe.  This year with an abundance of eggs there was no way that I was going to buy eggs. We would just have to see what happens when you try to color brown eggs.
Different chicken breeds lay different color eggs-white, brown and even blues and greens.  One thing I have learned while raising chickens is that even though you may have all of the same breed their eggs will not be exactly the same color.  Our chickens are black Australorps, except two, but all are brown egg layers.  We get several shades of brown, some dark, some light but most somewhere in the middle.  Of this variety we chose the lightest brown eggs to color.  Here you can see what they looked like before coloring-


They came out beautifully!   Orange took the longest to color.  As you can see from the picture above we placed some rubber bands on some.  Also you might notice that the egg is floating.  We blow out our eggs instead of hard boiling them so that we can keep that out on display.  But this also means that you have to keep turning the egg or push it down with a spoon so that it gets colored evenly. An interesting observation in blowing out the fresh eggs, I didn't crack one.  I always break at least one of the store bought eggs, usually more.  Now that I had plenty of eggs to spare not one little crack.  I believe it is because my hens have stronger shelled eggs.  I give them ground up oyster shells for extra calcium, plus they get to free range when the weather is nice and they get leftovers that include fruit, veggies and pasta.


The colors were more earth toned than we would have got with white eggs but we all love the way they turned out!


Friday, March 22, 2013

It's Finally Spring

It's finally spring here but you can't tell from looking outside.  Fourteen inches of freshly fallen snow currently grace the yard. Our whole family is pretty much done seeing the fluffy white stuff and that goes for the chickens too!  Our chickens hate snow, actully I believe most chickens hate snow.  Their scrawny little feet aren't really made for snow.  I open the coop door everyday knowing this (unless it is really cold) and they all scramble out the door. Then the first few notice the evil white stuff covering the ground and a fourteen chicken pileup on the off ramp ensues.  Wings flap, feathers fly and the quiet morning air is filled with a chorus of excited squawking as they all scramble back inside. This is extremely amusing. Inevitably, one of the two roosters sticks his head out the door and gives me a dirty look as if to say 'how dare you upset my girls?'


I do try to at least keep the snow packed down and that part of the yard gets lot of sun so it doesn't take long for the snow to melt now that the days are getting longer.  The nights have dropped below zero this week though, which means we don't get the around the clock melting that we normally would this time of year.  It won't be long though before it all melts though, right??